Last updated November 21, 2026
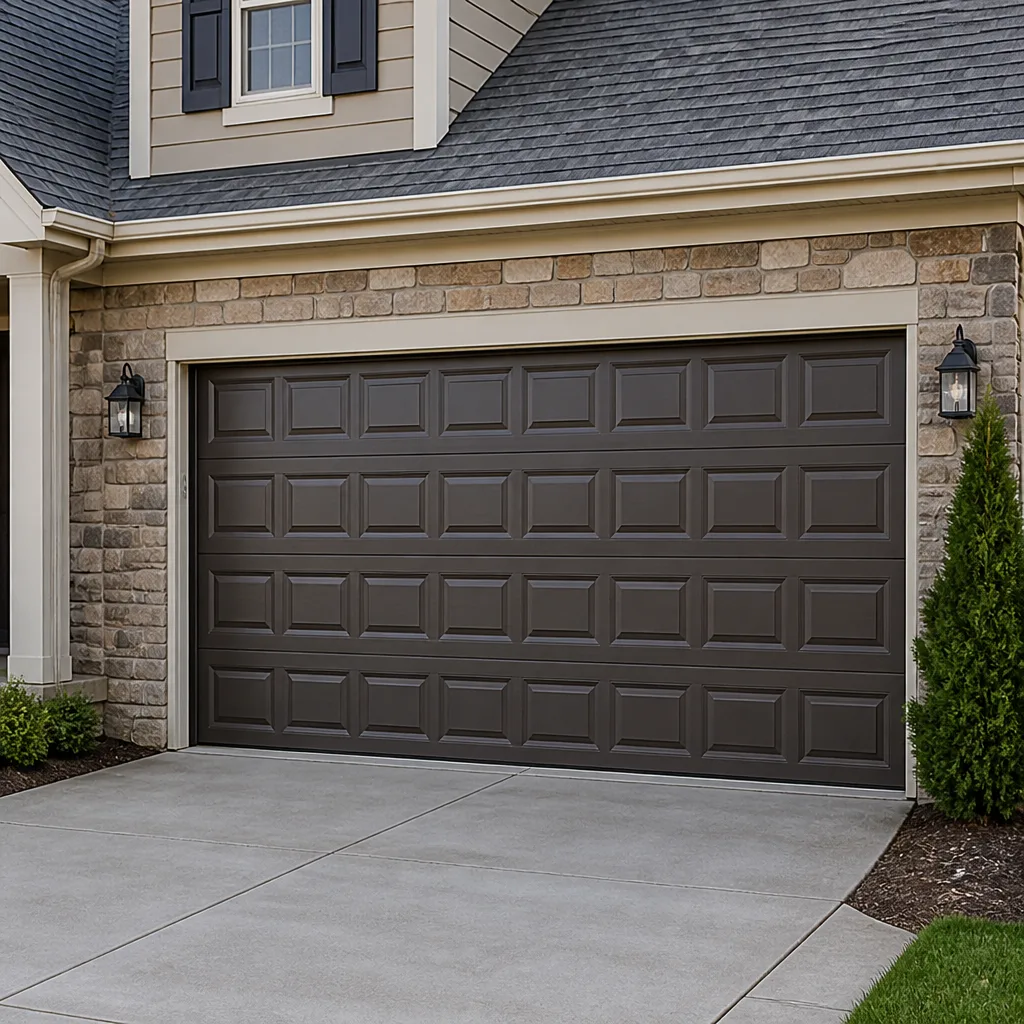 Raised-panel steel
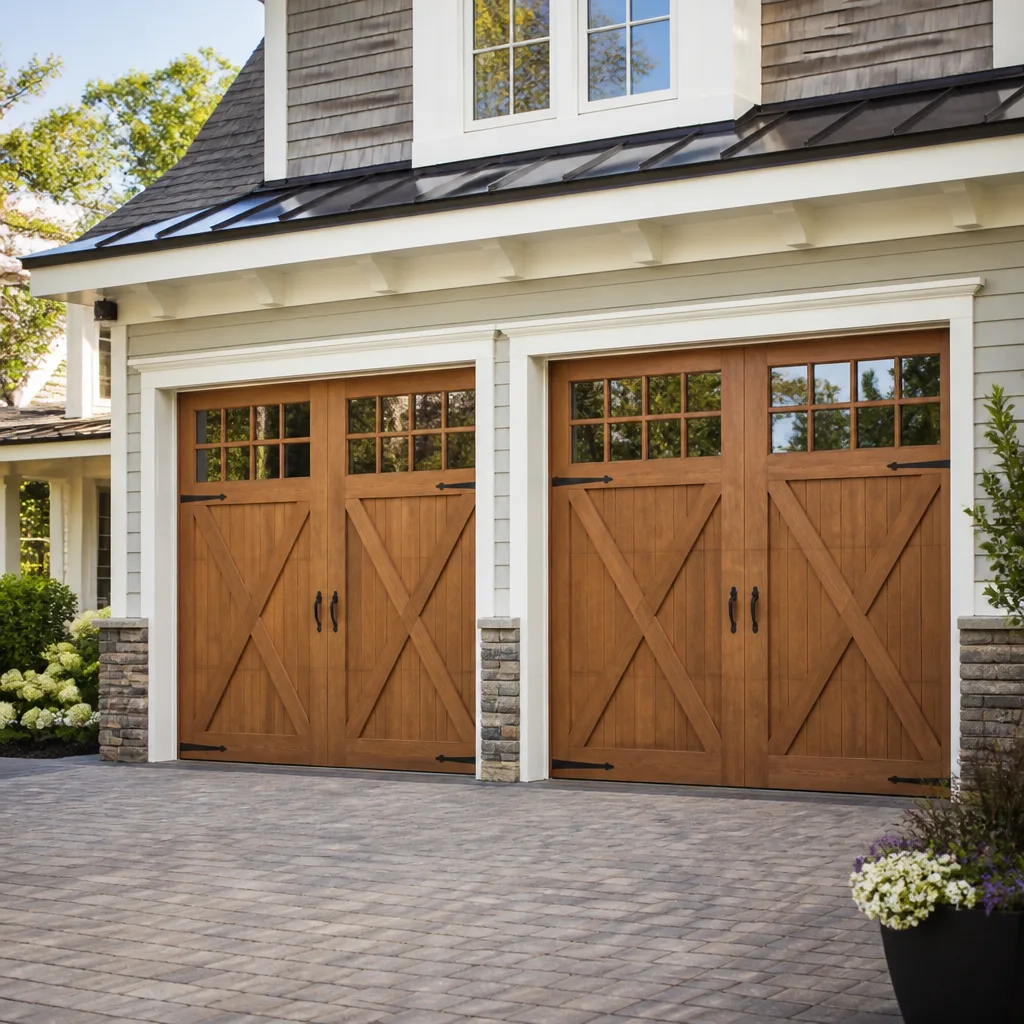 Carriage house
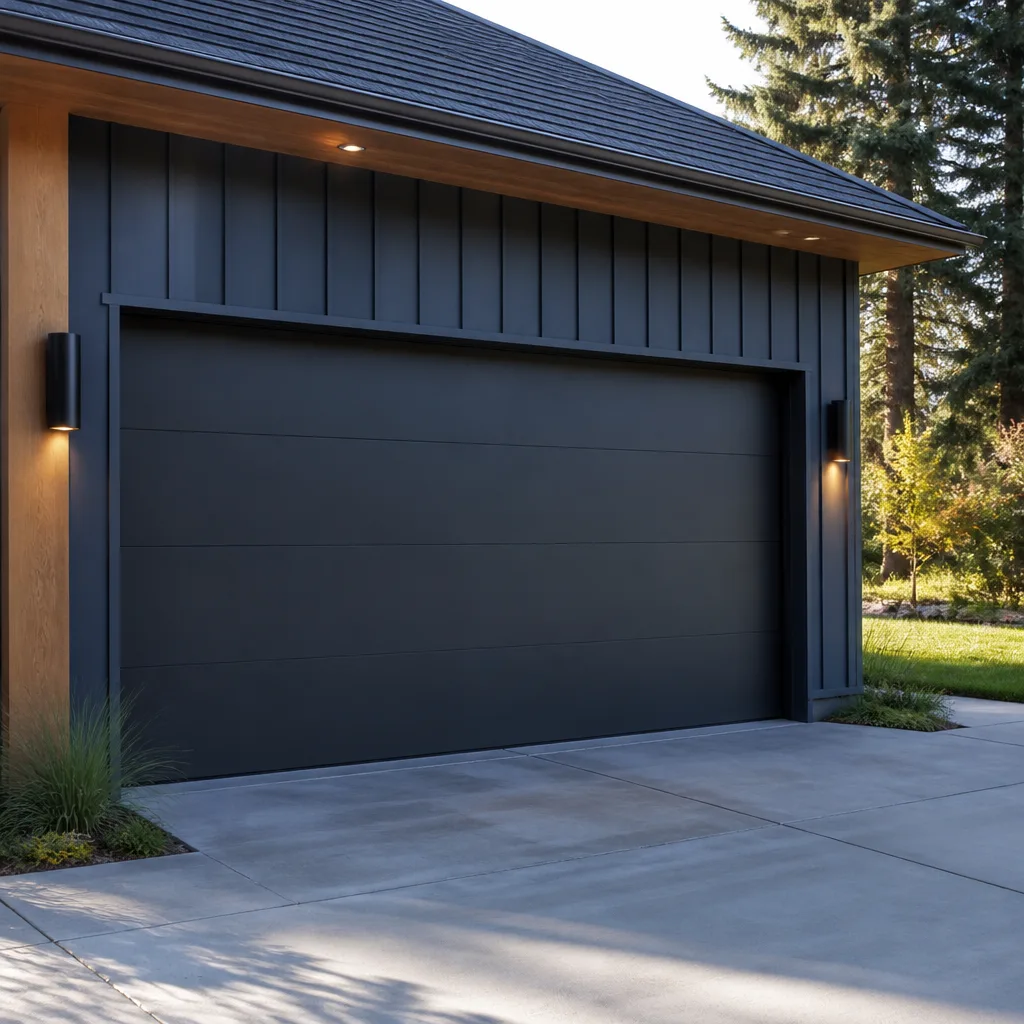 Modern flush
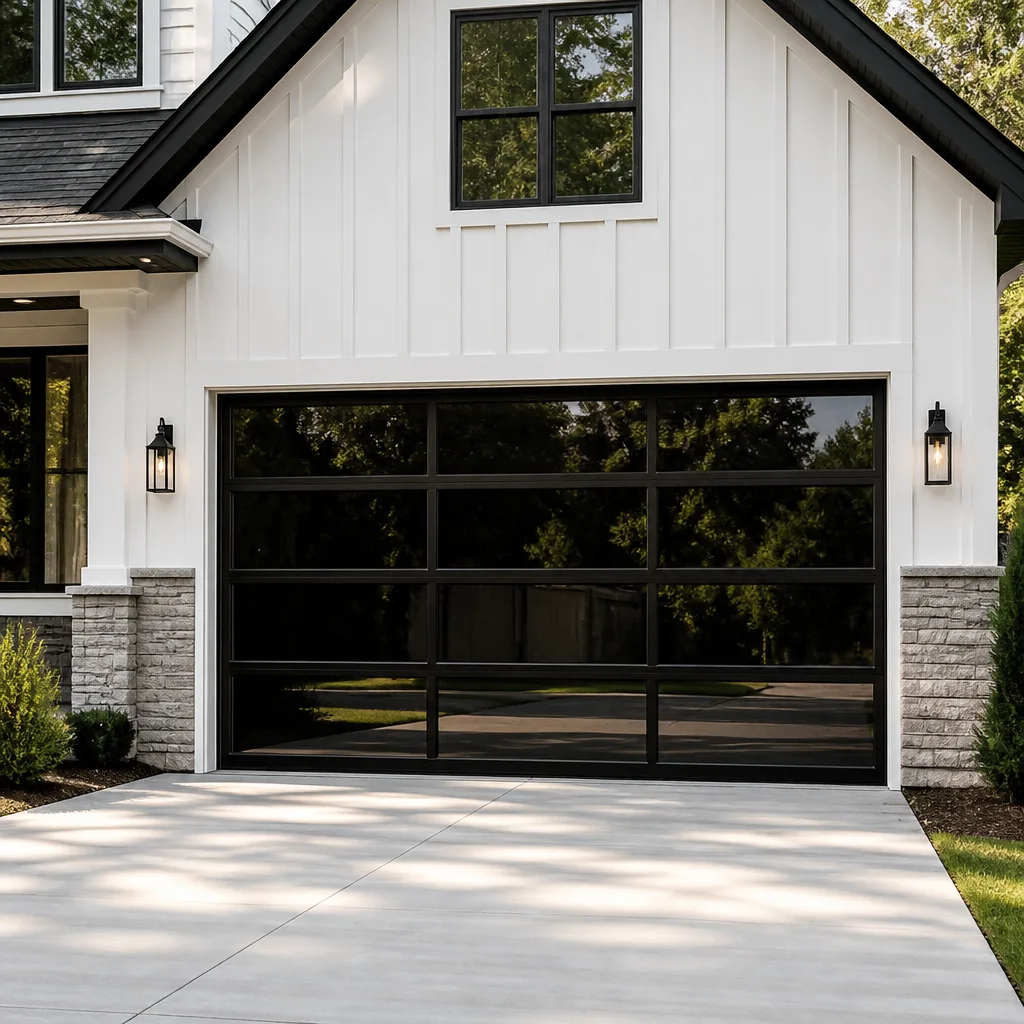 Full-view glass
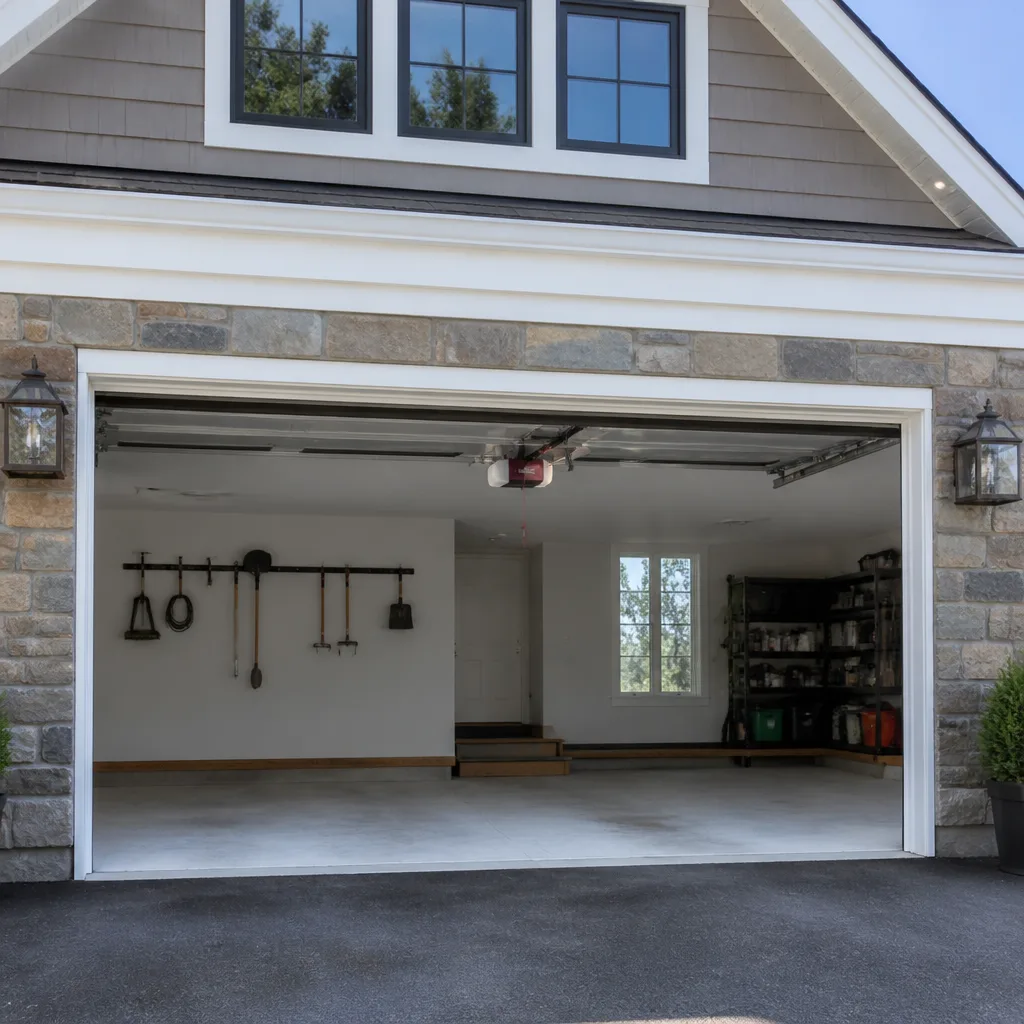 LiftMaster openers
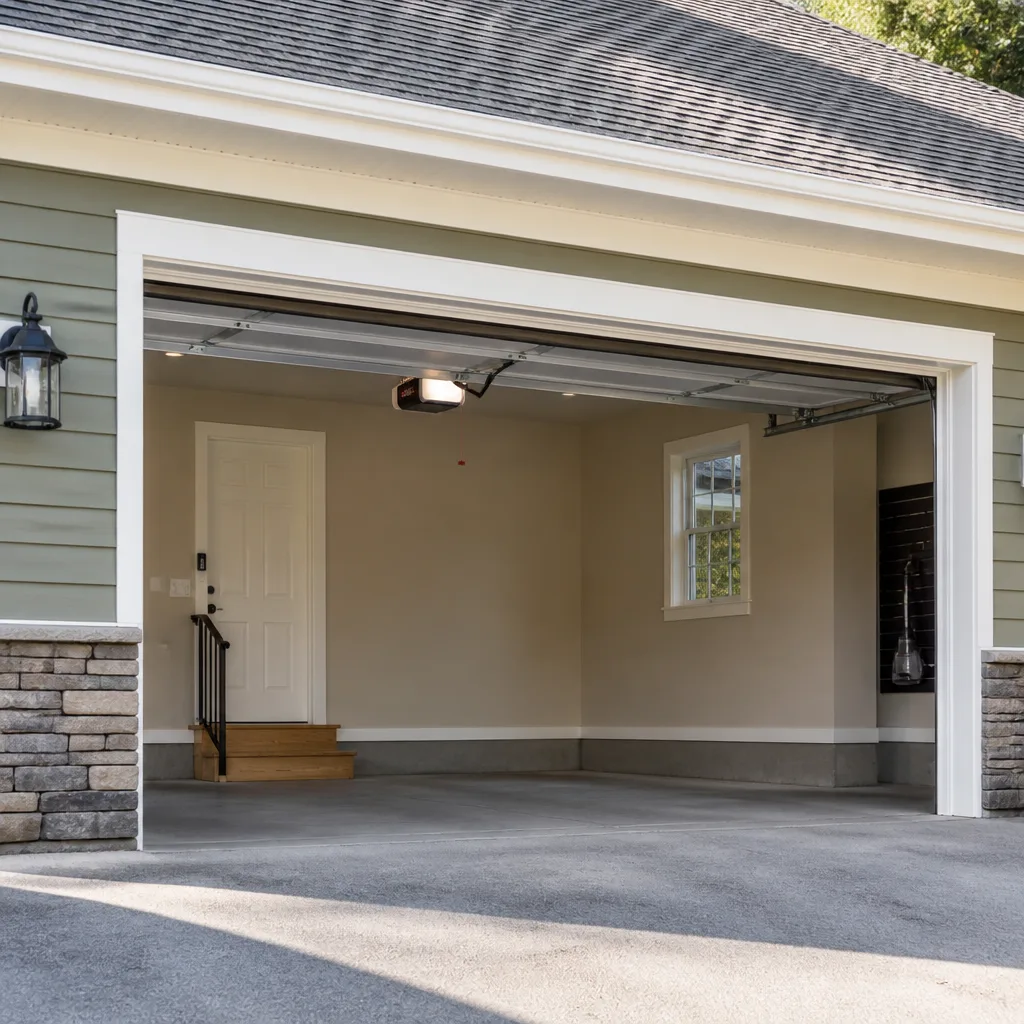 Chamberlain openers
Full 25-point door and opener safety check with every visit - springs, cables, rollers, tracks, and your LiftMaster or Chamberlain opener included
You get a price before we start. It does not change when the pro arrives.
Get your free estimateDIY vs Professional Garage Door: The Arlington Homeowner’s Decision Guide
Most DIY vs. professional garage door debates hand you a single answer: hire a pro. That advice is safe, but it’s also useless, because it treats a sensor that needs realigning the same as a torsion spring under several hundred pounds of load. They are not the same job, not the same risk, and not the same decision. Arlington homeowners deserve a task-level answer instead of a blanket rule. This guide sorts garage door work into three buckets: genuinely DIY-safe, conditional, and professional-only. It explains the physics behind the dangerous tasks, shows which DIY jobs actually save meaningful money, and covers the one diagnostic skill that saves you money even when you end up hiring us.
Quick Answer
In Arlington, you can safely handle garage door maintenance like lubricating tracks and rollers, testing and realigning photo-eye sensors, and replacing worn rollers if you’re comfortable with basic tools. You should never touch torsion springs, cables under tension, or bottom brackets yourself, because those parts store enough energy to seriously injure you regardless of your skill level. Everything in between, like limit switch adjustments and minor track alignment, depends on how comfortable you are with the work. If your door is stuck, noisy, or off its track, we offer garage door repair with free estimates and can tell you honestly which bucket your problem falls into.
Styles & brands we work with
- Raised-panel steel
- Carriage house
- Modern flush
- Full-view glass
- LiftMaster openers
- Chamberlain openers
Table of Contents
- The task-by-task DIY safety matrix
- Why torsion springs are in a different risk category
- Which DIY tasks actually save money (and which cost more)
- The tools an Arlington homeowner actually needs
- The one diagnostic skill that always pays off
- Opener work: the middle zone explained
- When the math clearly points to a pro
The Task-by-Task DIY Safety Matrix
The garage door is one of the few systems in your home that combines heavy moving parts, stored mechanical energy, and an electric motor. That combination means a single “DIY or don’t” answer doesn’t fit all tasks. Here’s how we sort the work in Arlington, task by task.
Safe to DIY
- Lubricating tracks, rollers, and hinges. A few minutes with a proper garage door lubricant keeps the door quiet and reduces strain on the opener. No stored energy involved.
- Testing and realigning photo-eye sensors. If the door reverses immediately, the safety sensors are the first suspect. Cleaning the lenses and nudging them back into alignment is a safe fix.
- Replacing worn nylon or steel rollers. With the door fully closed and the opener disconnected, swapping a roller is a straightforward hand-tool job on most residential doors.
- Cleaning and wiping down tracks. Grime builds up in Arlington’s humid summer months and along the door’s path. A damp cloth and a dry wipe are all you need.
- Replacing the wall remote battery or re-pairing a remote to a LiftMaster, Chamberlain, or Genie opener. The manual walks you through it.
Conditional: depends on your comfort and the door
- Adjusting travel limits on the opener. Safe if you follow the manufacturer’s instructions exactly and test the reversal after every change. If the door still won’t close fully, something else is wrong.
- Minor track alignment on a tilted bracket. If a track is visibly bent or pulled away from the wall, this is a professional call, not a DIY one. A slightly loose bolt is a different story.
- Light weatherstripping replacement. Replacing a bottom seal is manageable on a closed door. Removing and reinstalling the whole bottom section is not.
Professional-only
- Torsion springs. Any adjustment, winding, or replacement.
- Extension springs. Same category, same risk.
- Cables and bottom brackets. Both are under constant tension and can release violently if handled incorrectly.
- Opener replacement or motor/gear repair. The opener is wired to mains electricity and lifting capacity is calibrated to the door’s weight.
- Panel replacement after damage. Panels are heavy, awkward to lift safely, and must match the original weight for the door to balance.
- Any door that’s off-track, sagging, or making a loud bang or snap. These are the signals that something has failed and needs a trained pair of hands, not a homeowner with a wrench.
Why Torsion Springs Are in a Different Risk Category
A torsion spring is a coiled steel rod held under tension across the top of the door. When the door closes, the spring winds up and stores energy. When the door opens, that energy is released to lift the door’s weight. The spring is doing that work every single time you press the button, and it’s built to hold hundreds of pounds of force while wound. That’s exactly what makes it dangerous.
The risk isn’t just that a spring is under load. It’s that a spring failure can happen instantly, with no warning, and releases its energy in a fraction of a second. Once the spring is wound to the correct tension, there is no safe manual way to release it without the proper winding bars, and even then, a slip means the bar whips out of the spring cone at speed. A garage door spring can break while you’re standing in front of it, and it doesn’t care whether you’re a trained technician or a homeowner who watched a video. That’s why we treat garage door spring repair as a specialty rather than an add-on. Springs are our specialty, not a side job.
Extension springs in older Arlington homes pose a different but related risk. Where torsion springs sit above the door, extension springs run parallel to the tracks on each side. Many older extension spring systems in Arlington’s 1950s-era homes lack containment cables, which means a broken spring can swing into the garage or into whatever’s parked below. Any repair work with those springs needs a containment cable installed at the same time, and worth being clear about: that’s a professional task, not a homeowner one.
Here’s the plain answer on the danger: never attempt to wind, unwind, remove, or replace a spring on your own. Even adjusting a barely-tight spring requires knowing how many turns to release, in which direction, and what the door’s balance should look like afterward. A door balanced by an untrained hand can slip and cause injury on the next open cycle.
Which DIY Tasks Actually Save Meaningful Money
Some garage door DIY clearly makes sense and some of it risks a much larger bill than the money saved. In our experience, homeowners usually underestimate the second category. Here’s the reality check, task by task.
- Roller replacement: worth doing. New nylon rollers cost a fraction of a service call and reduce noise and vibration. If your door sounds like a freight train, this is the first thing to try.
- Sensor realignment: worth doing. The photo-eye sensor is a safety device, but a nudge back into place after a bump from a car or a stray garden tool costs nothing and takes minutes.
- Lubrication: worth doing, every few months. A few dollars of garage door lubricant extends the life of every metal-on-metal contact point in the door.
- Remote and keypad programming: worth doing. A quick manual read and a battery swap.
- Track alignment on anything more than a loose bolt: not worth doing. A bent track that you try to straighten by hand almost always stresses the brackets and shifts the door’s balance.
- Opener replacement: usually not worth doing. The wire work is straightforward for an electrician but risky for anyone else, and the door’s balance and travel limits must be recalibrated to the motor lift. Get this wrong and you burn out the motor or the door jams repeatedly.
- Spring touching at all: never worth doing. The cost of a professional spring repair is a fraction of an ER visit, and a spring failure that damages the door panels, tracks, or opener adds hundreds of dollars to the eventual repair.
A useful rule: if the DIY cost saving is significant on paper (say, most of a service call), the risk is usually the deciding factor, not the money. If the DIY cost saving is small but the risk is genuinely low, it’s yours to do. Rollers, sensors, lubrication, and programming all fall into the second bucket. Springs, cables, and opener replacement fall into the first.
The Tools an Arlington Homeowner Actually Needs for Safe DIY
You don’t need a full workshop to handle the safe tasks in this guide. You do need a few specific items that make the job easier and safer. Here’s what actually earns its place in your toolkit.
- A step ladder tall enough to reach the opener and top hinges. Most Arlington garages have low ceiling clearance, but you still need a stable ladder that won’t wobble when you’re reaching.
- A socket set and nut driver set. Rollers and hinges use a mix of hex head and Phillips hardware. You’ll also need them for the wall-bracket bolts on any opener programming task.
- A proper garage door lubricant. Not WD-40. A silicone or white lithium spray designed for garage doors won’t attract dust the way general-purpose oil does.
- A pair of locking pliers or a clamp. Useful for holding the door in place while you check a roller or track, and for keeping a door steady during a diagnostic check.
- A clean cloth and a stiff brush. Arlington’s summer humidity and pollen season gum up tracks faster than you’d expect. A wipe-down keeps the door running freely.
- A level. When you’re checking whether a track is truly vertical, level is the honest answer, not your eye.
You don’t need a winding bar, and we’d rather you didn’t own one for a residential torsion door. That tool belongs in professional hands for the reasons covered above.
The Diagnostic Step You Can Always Do Yourself
Identifying the problem correctly is the single most valuable thing a homeowner can do, and it costs nothing. Even if you end up hiring us, an accurate diagnosis means you get the right quote on the first call instead of a vague description of a symptom.
Here’s the diagnostic drill we walk Arlington homeowners through on the phone, and it works whether you have a LiftMaster, a Chamberlain, a Genie, or any other system:
- Note when the door fails. Won’t open at all? Opens halfway and stops? Opens but won’t close? Each pattern points to a different system.
- Check the wall button. If the wall button works but the remote doesn’t, the problem is in the remote or receiver, not the door. If neither works, look at power, the opener, or a safety reversal.
- Watch the door when it’s running. A door that stops, reverses, or shudders is telling you the springs or limits are out of balance. A door that bangs on the way down is telling you the tracks or hinges are loose.
- Look at the springs. A torsion spring that’s visibly split, rusted through, or hanging loose is a confirmed failure. Don’t test it. Note it and call us.
- Check the photo-eye sensors. Look at the small indicator lights on the sensors mounted near the floor. If either light is off or blinking, realign or clean the lenses before assuming anything else is wrong.
That diagnostic step is why our callbacks get shorter and more accurate. When we can hear your description of what the door is doing, the techs know whether to bring a spring, a set of rollers, an opener board, or a track realignment kit on the first visit. That’s a direct benefit to your bill and to your time.
Opener Work: The Middle Zone Explained
Opener repair sits in a middle zone for a reason. Some opener tasks are safe for a confident homeowner, and others are not. The dividing line is whether you’re touching the electrical wiring or the physical lift calibration.
Safe for a homeowner: pairing a new remote, replacing a wall-button battery, cleaning the sensing edge, and resetting a wall-mounted keypad. If your opener is a LiftMaster or Chamberlain, the manufacturer’s manual or app walks you through it step by step.
Not safe for a homeowner: opening the motor housing, replacing the logic board, replacing the motor capacitor, or swapping the whole unit. The logic board and capacitor both involve mains voltage and stored charge, and even a small opener capacitor can deliver a serious shock. Replacing a whole opener also requires recalibrating the travel limits and force settings to match the door’s weight. If you get that wrong, the door will either refuse to close fully or over-torque itself and stress the springs.
If you’re stuck in that middle zone, we do garage door opener repair on every major residential opener brand, and we’ll tell you plainly whether the unit is worth repairing or whether a replacement makes more sense for the year the unit was built. We don’t push replacements when a five-dollar part fixes the problem.
When the Math Clearly Points to a Pro
Some jobs aren’t a judgment call, and the cost-benefit math points clearly to a professional. Here’s the short list. If the door has snapped a spring, if a cable has come loose or broken, if the door is off-track or sagging, if a panel is cracked or dented, if the opener sparks, smells burnt, or won’t respond to a reset, or if the door has made a loud bang that you can’t trace to a slammed door, that’s a pro call. Those signals point to high-tension hardware, wired electrical components, or a door frame under load that isn’t safe to work on with hand tools. Attempting those repairs is the main reason we see $150 diagnostic visits turn into $900 repairs on a door that could have been fixed for a fraction. When you’re not sure, the phone call is free and the answer is honest.
Common Mistakes to Avoid
- Trying to “test” a broken spring by opening the door anyway. A door with a failed spring is the door most likely to come off its tracks and damage the opener, the panels, or anything below. Don’t open it until it’s repaired.
- Using WD-40 on tracks and rollers. It’s a cleaner, not a lubricant. It attracts dust and grime, which makes the door louder and accelerates roller wear, and in Arlington’s humid summers it can gum up the works faster than if you’d done nothing.
- Straightening a bent track with a hammer or your hands. A track that’s been hand-straightened loses its geometry, and the door either wobbles or jams. Track alignment needs the right bend radius, not force.
- Replacing a whole opener when only the capacitor or logic board has failed. If the motor is healthy but the door won’t respond, the electronics are usually the cheap fix. Get a diagnosis before agreeing to a full replacement.
- Ignoring the “door reverses on close” symptom. Nine times out of ten that’s a photo-eye sensor or a travel limit, not a spring. Realigning the sensor or adjusting the limit is a five-minute fix that doesn’t need a service call.
- Assuming a garage door spring problem is a cheap fix because the part “looks” small. A torsion spring repair involves the highest-risk mechanical work in the whole door system, and the cost reflects the risk and the setup, not the size of the part.
- Calling for emergency service when a quick diagnostic would have saved the trip. If your door won’t close and there’s a visible bent track or a snapped spring, emergency service is appropriate. If the remote isn’t working, we can usually solve that over the phone.
See the difference
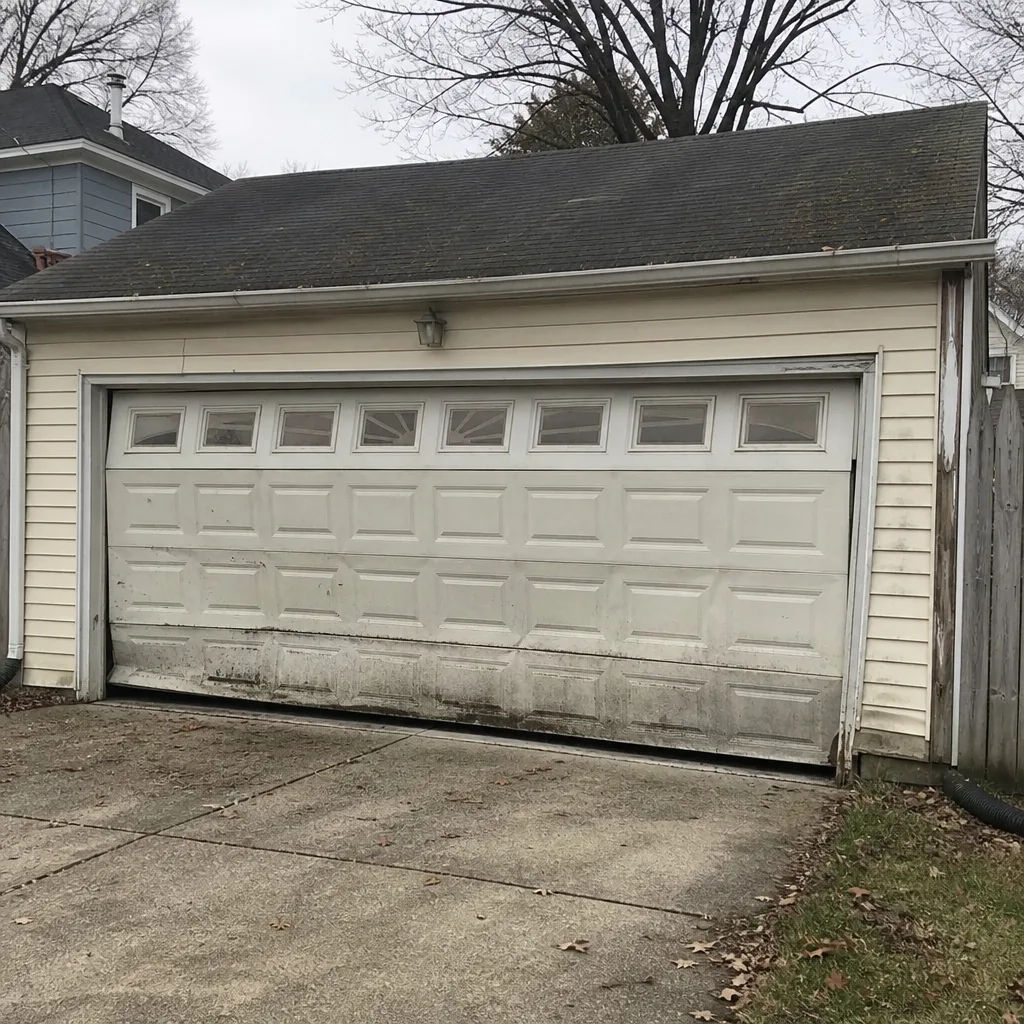 Before
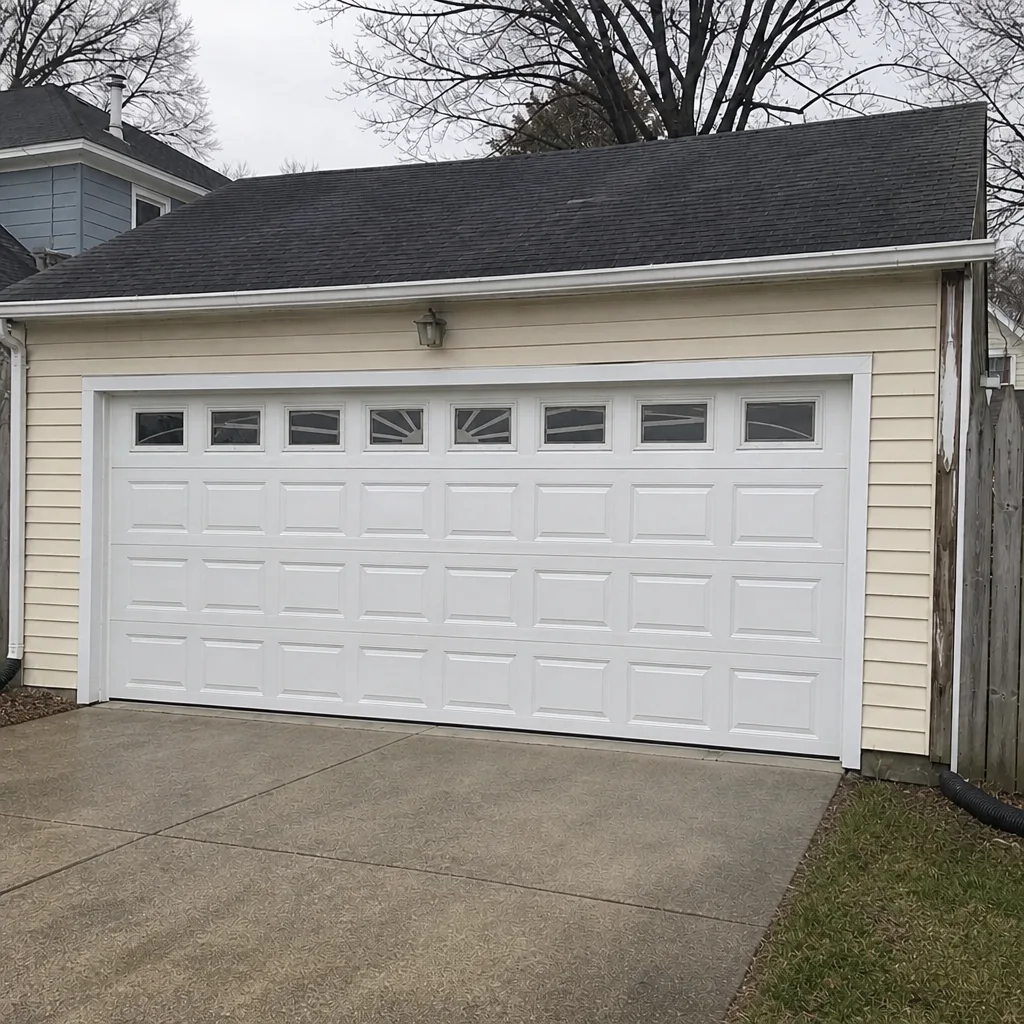 After
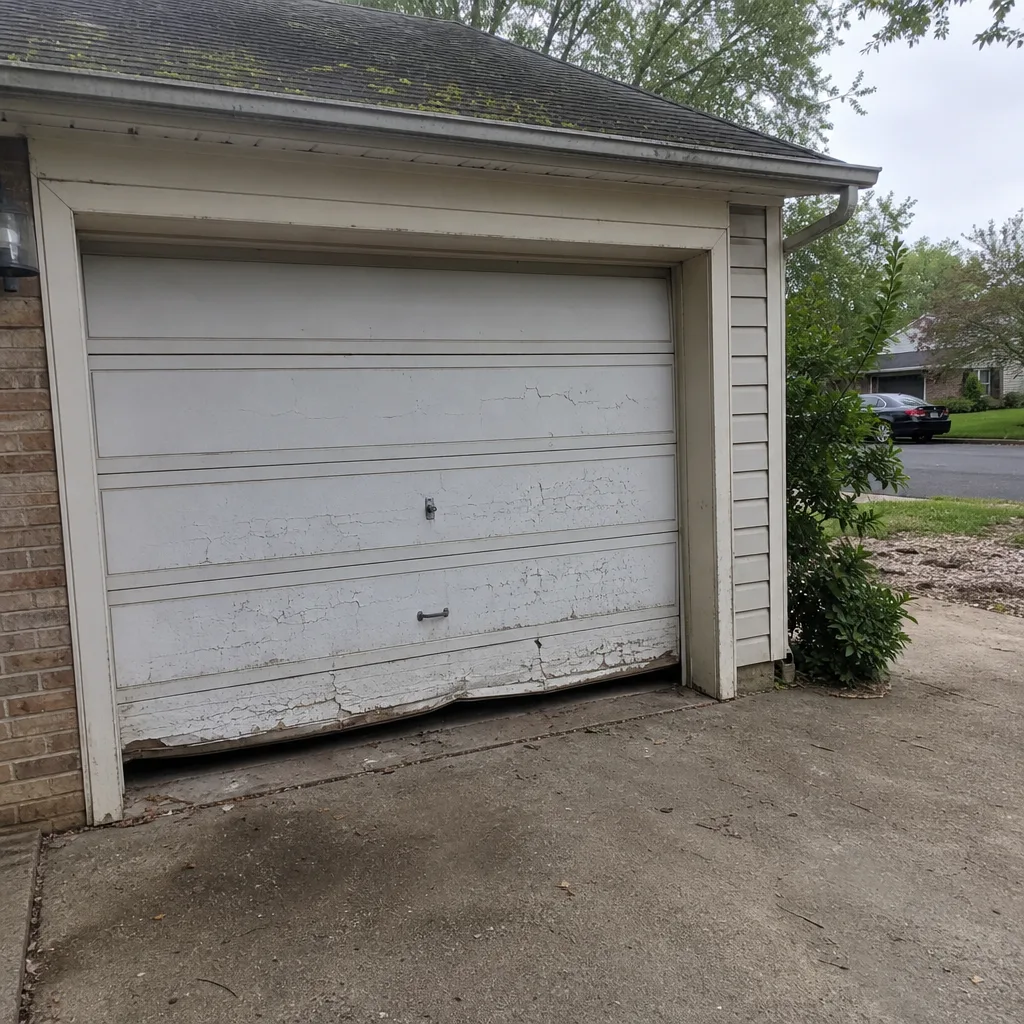 Before
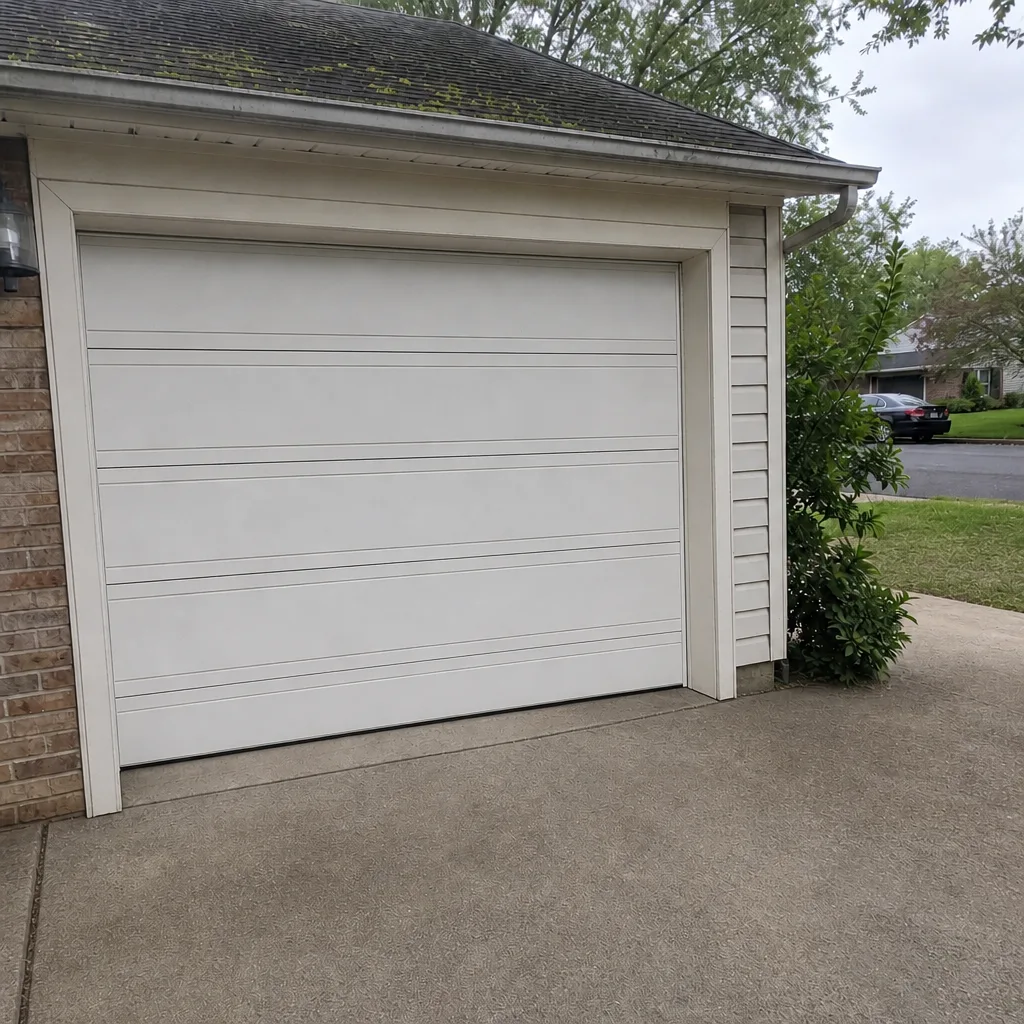 After
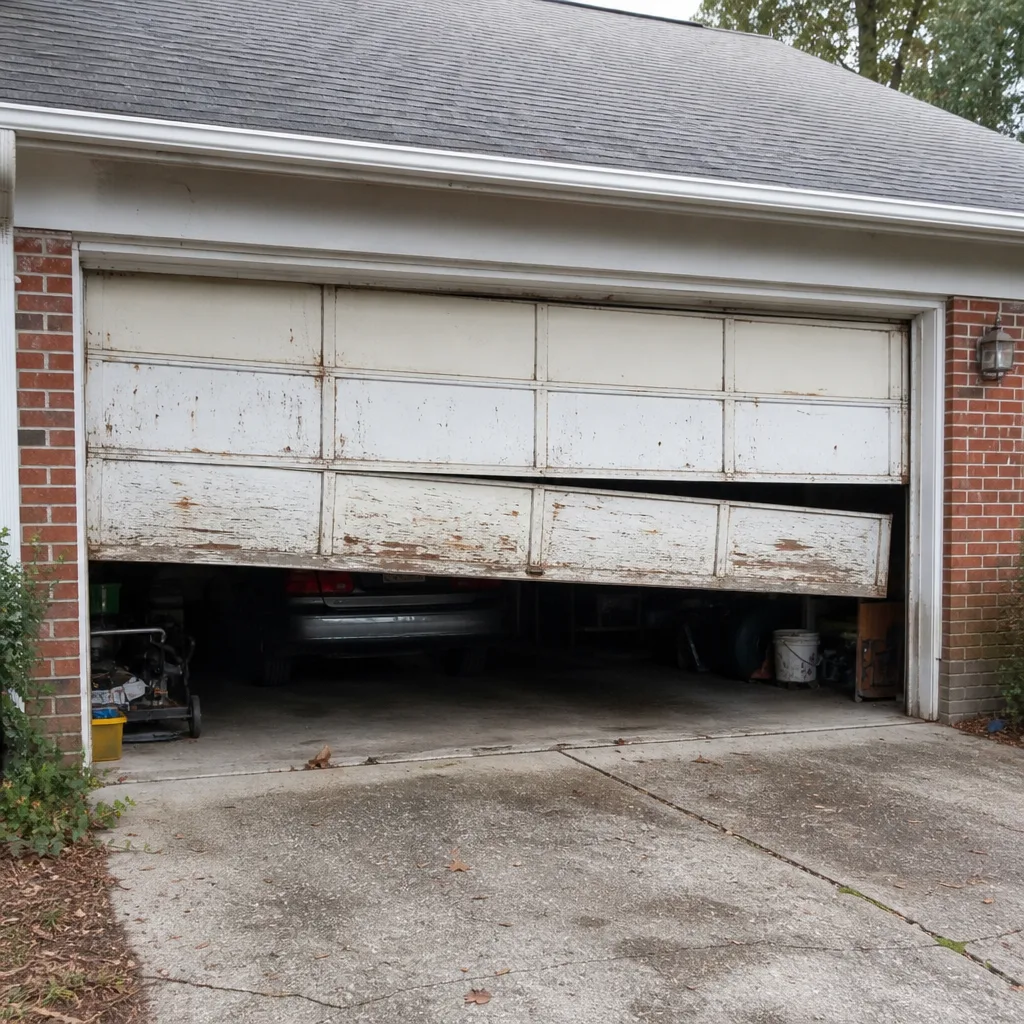 Before
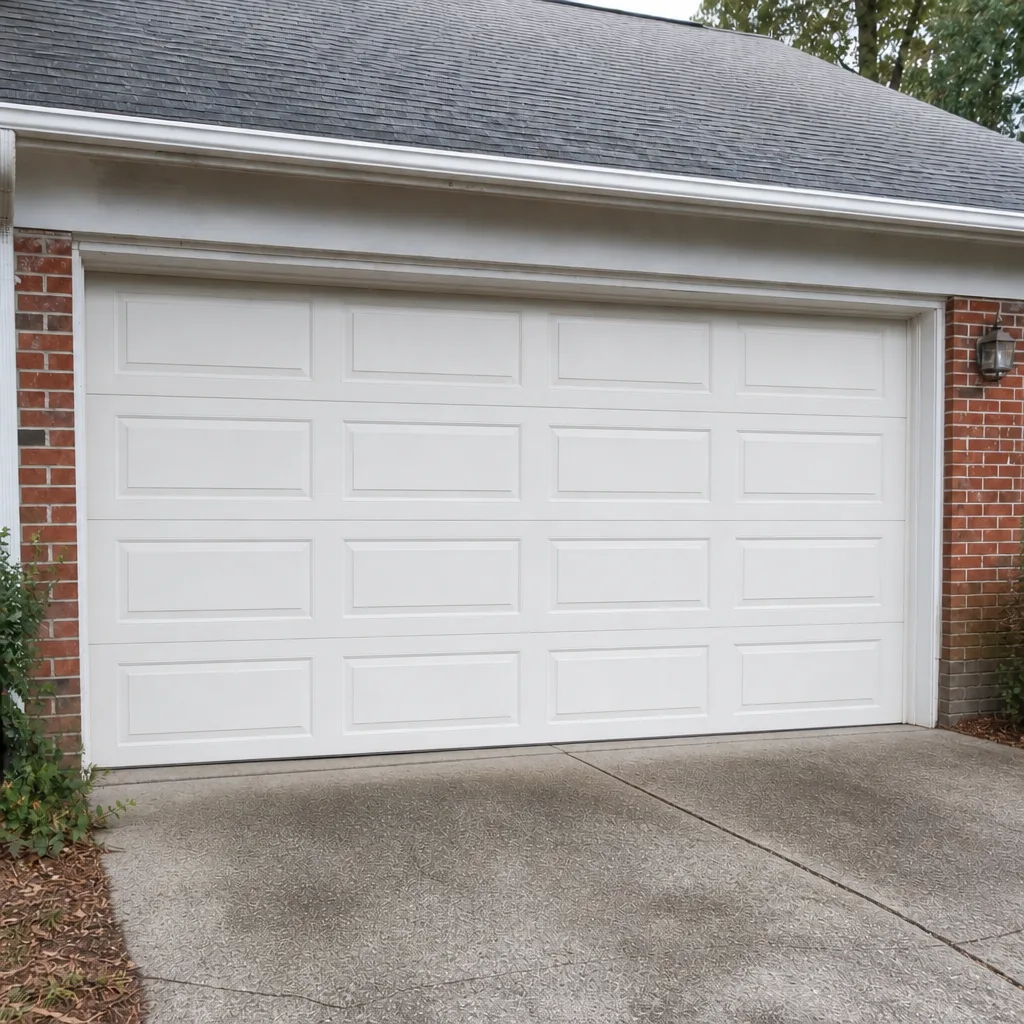 After
When to Call a Professional
Call us when the task involves a spring, a cable, a bottom bracket, a panel replacement, a wired opener component, or a door that’s off-track, sagging, or making loud mechanical sounds. That includes the situations we treat as genuine emergencies in Arlington: a door stuck open overnight, a broken spring blocking your car in, or a door hanging from one side with the other side down. Those aren’t routine appointments, and we don’t schedule them as such. For everything else, we’re happy to talk through the task on the phone first and tell you whether it’s a five-minute DIY fix or a service call. Gaines Garage Door Repair offers free estimates in Arlington. Call (877) 745-1385 and we’ll help you figure out which bucket your job belongs in.
Frequently Asked Questions
No. Torsion and extension springs are under high tension and can release energy instantly, causing serious injury even to experienced homeowners. Spring winding requires specialized tools and training, and a slip can send a winding bar flying. In Arlington, call a professional for any spring work. Our spring repair specialty exists for exactly this reason. Call (877) 745-1385 for a free estimate.
You can safely lubricate tracks and rollers, clean and realign photo-eye sensors, replace worn rollers on a closed door, replace remote batteries, and reprogram remotes. These tasks involve no stored mechanical energy or electrical wiring. Anything with a spring, cable, bracket, panel, or opener motor is a professional task.
Typical repair estimates in Arlington range from a modest service call for a sensor adjustment up to spring repair, opener repair, or panel replacement costs, all confirmed in a written estimate before any work starts. The written estimate is the price, and we don’t add to it after the work starts. Call (877) 745-1385 for an exact quote. Estimates are free.
The quick test is whether the problem involves high-tension hardware (springs, cables, brackets), wired electricity (opener motor or logic board), or heavy structural components (panels, tracks, frame). If it involves any of those, it’s a professional job. If it’s lubrication, sensor alignment, rollers, or remote programming, you can usually handle it yourself.
For repair and emergency requests, we aim to respond quickly, and same-day service is often available. For spring repairs, opener replacement, or panel replacement, we’ll confirm timing on the call. If your door is stuck open, a car is blocked in, or the door is unsafe, call us and we’ll treat it as urgent. Call (877) 745-1385 and we’ll tell you what’s possible.
Repair is usually the answer when the door panels and frame are sound and the issue is a spring, roller, sensor, or single opener component. Replacement makes sense when multiple major components have failed at once, when the door panels are damaged, or when the opener is old enough that its parts are hard to source. We’ll tell you which way the math points instead of defaulting to replacement. Call (877) 745-1385 and we’ll give you a straight answer.
The Bottom Line
The real DIY question in Arlington isn’t “DIY or pro” in general, it’s “which task am I looking at right now.” Lubrication, sensors, rollers, and remotes are yours to handle, and they save you real money and time. Springs, cables, brackets, panels, wired opener parts, and any off-track or sagging door belong in professional hands, full stop, no exceptions for how many videos you’ve watched. If you’re unsure, run the diagnostic steps in this guide, then call us and describe what you’re seeing. We’ll tell you plainly which bucket your job belongs in, and if it’s the DIY bucket, we’ll say so. When it’s not, our technicians (up to 12 years of experience with brands like LiftMaster, Chamberlain, and Clopay) can get your door back up and running. Call (877) 745-1385 for a free estimate, or reach out through Gaines Garage Door Repair to book a service call.
Written by the team at Gaines Garage Door Repair.