Last updated November 21, 2026
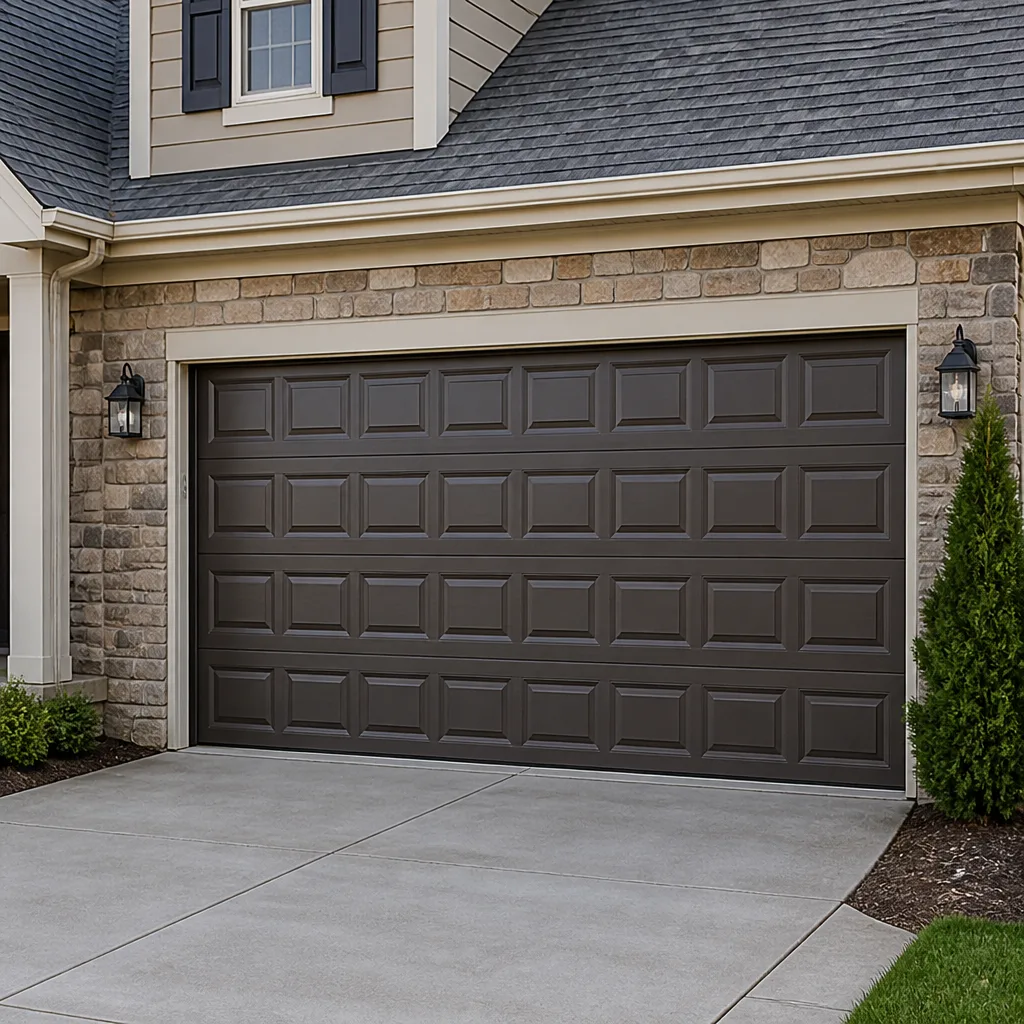 Raised-panel steel
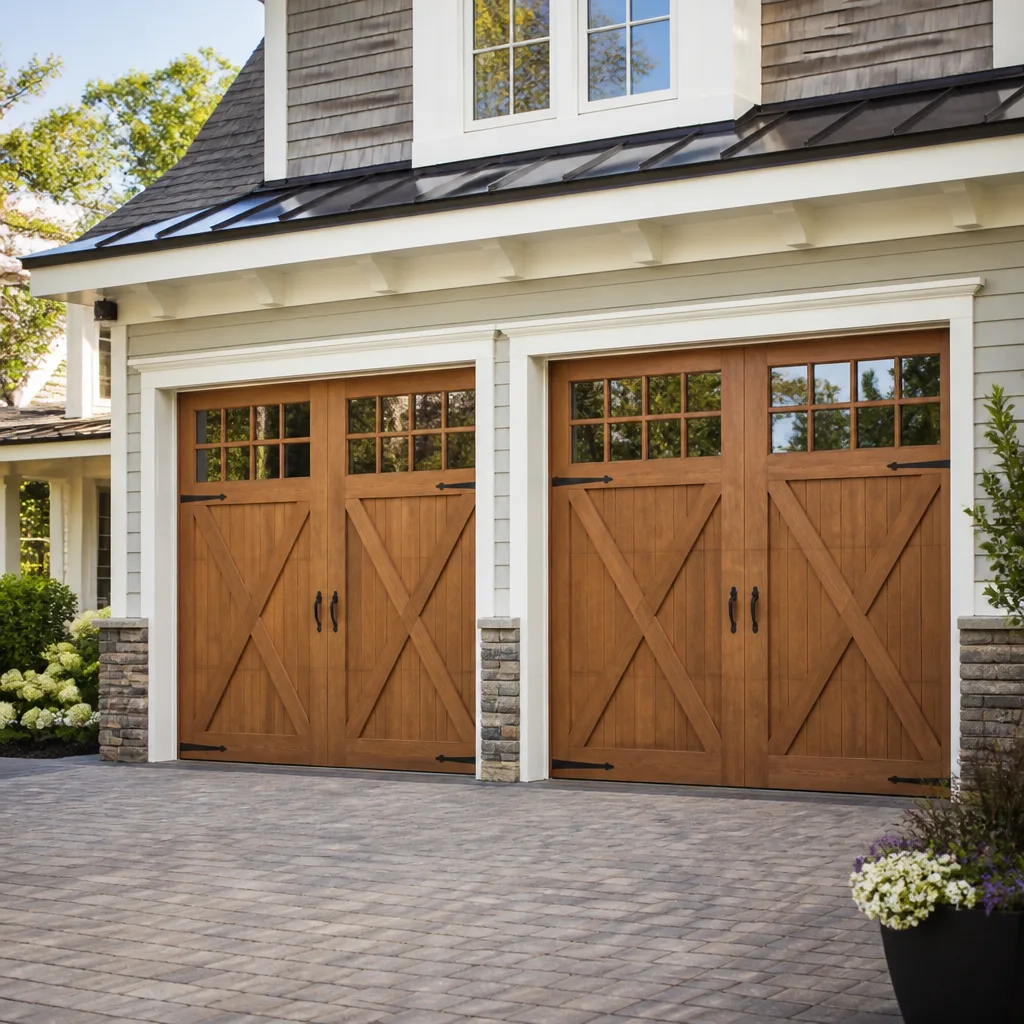 Carriage house
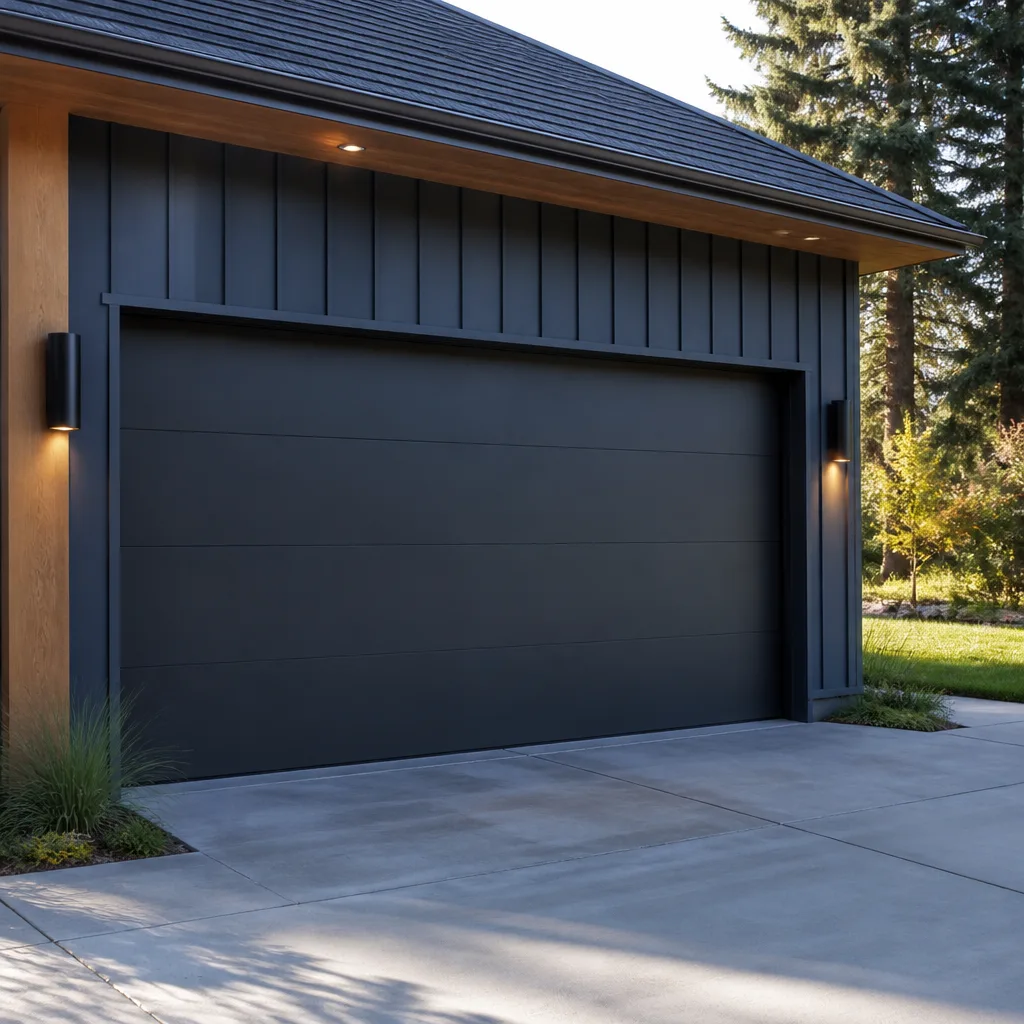 Modern flush
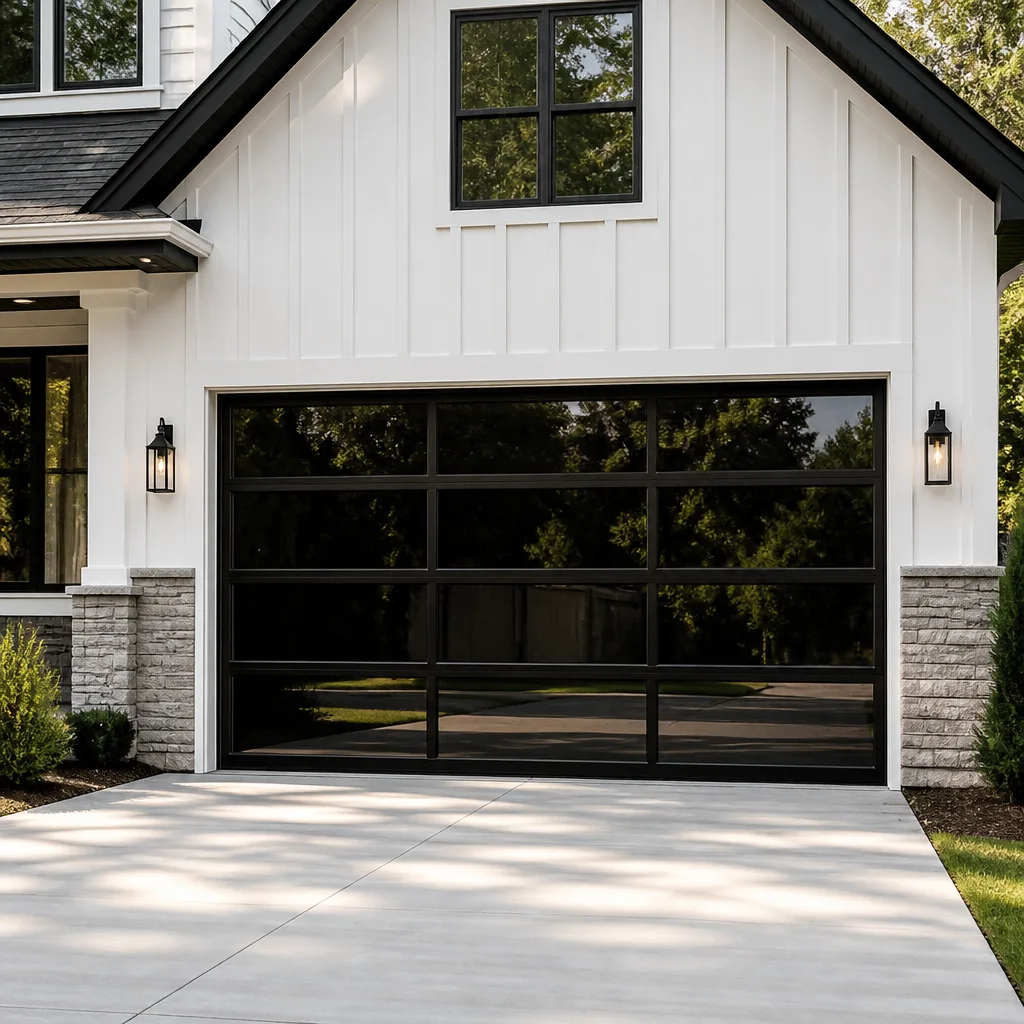 Full-view glass
 LiftMaster openers
 Chamberlain openers
Full 25-point door and opener safety check with every visit - springs, cables, rollers, tracks, and your LiftMaster or Chamberlain opener included
You get a price before we start. It does not change when the pro arrives.
Get your free estimateGarage Door Repair Maintenance Checklist for Arlington Homeowners
Ask most homeowners what breaks a garage door and they’ll say the spring. In our experience across Arlington, the spring gets the blame but the bottom bracket and the rollers quietly do the damage first. Humidity is the reason. Arlington sits in a Mid-Atlantic pocket where summers run thick and wet, winters swing above and below freezing for weeks, and spring drops a coat of pollen on everything outdoors. That combination stresses garage door hardware in ways a dry-climate checklist never accounts for. This guide ranks maintenance tasks by how often we actually see them fail here, in the order that prevents the emergency calls. You’ll get the lubricants that hold up, the seal checks that matter, and clear stop points for when to put the tools down and call someone.
Quick Answer
A garage door maintenance checklist for Arlington should focus on the parts that fail in humidity and freeze-thaw cycles: bottom brackets, rollers, hinges, the bottom seal, and spring balance. Inspect monthly in summer, lubricate moving metal twice a year with a silicone-based spray (not grease), and check the seal and weatherstripping each March and October. Test balance by hand with the opener disengaged. If a spring looks stretched, cracked, or the door won’t hold halfway, stop and call a technician – spring and cable work is the one part of this list homeowners should never tackle alone.
Styles & brands we work with
- Raised-panel steel
- Carriage house
- Modern flush
- Full-view glass
- LiftMaster openers
- Chamberlain openers
Table of Contents
- Why Arlington Garage Doors Fail Differently
- The Ranked Maintenance Checklist: What to Check First
- Which Lubricants Hold Up in Virginia Humidity
- Bottom Seal and Weatherstripping Through Freeze-Thaw Cycles
- How to Test Balance and Check Spring Tension Safely
- Seasonal Timing Guide: March and October
- A Monthly Walkaround You Can Do in Ten Minutes
- Safety Systems: Photo-Eyes and Auto-Reverse
Why Arlington Garage Doors Fail Differently
Arlington’s climate does two things to garage door hardware that a generic national checklist misses. First, summer humidity runs high for months. Steel brackets, hinges, and the bottom of the door collect condensation, and any spot where paint or plating has worn becomes a corrosion point. The bottom bracket sits lowest and takes the most moisture off the concrete slab, which is why it’s the corrosion failure we see most. Second, winters don’t stay cold. They cycle. A February that swings from a hard freeze to a thaw and back puts expansion and contraction stress on seals, weatherstripping, and the door panels themselves.
Add Arlington’s tree canopy – mature oaks and maples along streets in neighborhoods like Ashton Heights, Lyon Village, and Cherrydale – and you get a pollen season that coats tracks and rollers with a fine grit that works into every moving joint. Pollen plus humidity is a mild abrasive. Left alone, it grinds rollers and hinges faster than the manufacturer intended.
Housing stock matters too. Arlington has a deep mix of older homes with single-car garages and newer construction with wider doors and heavier insulated panels. Older doors often carry original hardware that’s already aged past its expected service life. Newer doors are heavier and load their springs harder. Both patterns show up in service calls, just for different reasons.
None of this means your door is doomed. It means the maintenance list for an Arlington garage should lead with the parts the local climate punishes most, and that’s exactly how the checklist below is ordered.
The Ranked Maintenance Checklist: What to Check First
Most checklists are alphabetical or generic. This one is ranked by failure frequency – the tasks at the top prevent the calls we get most. Work down the list in order and you cover the highest-risk items first.
- Bottom bracket and bottom corners of the door. Check for rust, loose fasteners, and any sign of movement at the bracket. This is the corrosion point in Arlington’s humidity, and a failing bracket stresses the cable and the door’s lower panel. Do not loosen or adjust the bracket yourself – the cable under tension at that point can injure you. Inspect, note, and call if it looks compromised.
- Rollers. Nylon rollers wear; steel rollers corrode. Grit from pollen accelerates both. Spin each roller by hand and look for flat spots, cracks, or a rough feel. Worn rollers make the door noisy and drag on the opener.
- Hinges. Loose hinge screws are common as wood or metal panels expand and contract through the season. Tighten what’s loose; replace hinges that are bent, rusted, or missing a screw hole.
- Springs (visual only). Look for gaps, cracks, or a stretched appearance. Never touch, adjust, or attempt to wind a spring. This is the highest-tension part of the system, and it’s the one item on the list that’s inspection-only for homeowners.
- Cables (visual only). Check for fraying, kinks, or slack. Cables are under extreme tension. Same rule: look, do not touch.
- Bottom seal and weatherstripping. Look for cracks, gaps at the floor, or a seal that’s pulling away. Covered in detail below.
- Tracks. Check for dents, debris, and alignment. A slightly bent track will drag the door and wear the rollers.
- Opener and safety systems. Test the auto-reverse and the photo-eye sensors monthly. Details in the safety section below.
If any of the first five items turns up a problem you can’t fix with a screwdriver, that’s the signal to bring in a technician. Our garage door repair service in Arlington starts with a diagnosis, so you know exactly which of these items is failing and which can wait.
Which Lubricants Hold Up in Virginia Humidity
The wrong lubricant is worse than no lubricant. In Arlington’s humid summers, a heavy grease or a general-purpose oil attracts grit and dust, and the grit turns the lubricant into a grinding paste. That accelerates wear on rollers, hinges, and the opener’s drive mechanism. Here’s what actually holds up and what to avoid.
Use these
- Silicone-based spray lubricant. It stays where you put it, doesn’t collect grit the way grease does, and won’t gum up in cold weather. This is the default choice for rollers, hinges, and the torsion bar bearings.
- White lithium grease in small amounts. Good for the opener’s rail and the screw-drive mechanism, applied sparingly. Too much attracts dust.
- Dry PTFE spray. Holds up well in humidity and is a solid pick for tracks and the opener rail where you want low friction without a wet film.
Avoid these
- WD-40 or general penetrating oil as a long-term lubricant. It’s fine for loosening a rusted fastener, but it evaporates and leaves little protection against Arlington’s humidity. It’s not a maintenance lubricant.
- Heavy wheel bearing grease or chassis grease. Attracts and holds grit. In pollen season, it becomes a mild abrasive.
- Cooking spray or household oil. Not formulated for metal-on-metal load, and it breaks down quickly in heat.
One note on tracks: some manufacturers say not to lubricate the tracks at all because the rollers are designed to roll, not slide. Follow your door’s manual. If you’re unsure, a light dry PTFE spray on the track is a safe middle ground. Avoid spraying silicone into the track itself if you’ve got nylon rollers – it can make them slide instead of roll. If your opener is struggling or noisy after you’ve lubricated everything, the problem may be the unit itself, and our garage door opener repair technicians can diagnose it across the eight major brands we service.
Bottom Seal and Weatherstripping Through Freeze-Thaw Cycles
Arlington’s winters don’t stay consistently cold, and that’s the problem. Every freeze-thaw cycle pushes and pulls on the rubber bottom seal and the weatherstripping around the door frame. Rubber that’s gone stiff from age cracks under that movement. A cracked seal lets in cold air, moisture, and pests – and in summer, it lets out the cool air you’re paying for. This is one of the most overlooked items on any checklist, and it’s cheap to fix compared to the damage a failed seal causes over a couple of winters.
Here’s how to inspect it:
- Close the door fully and look at the seal from inside the garage. Any light coming under the door means a gap.
- Run your hand along the seal (with the door closed and the opener off) to feel for hard spots, cracks, or sections that have pulled away from the door’s bottom edge.
- Check the weatherstripping along the sides and top of the frame for tears, compression, or sections that no longer touch the door.
- Look at the concrete threshold for cracks or uneven spots – a seal can’t do its job against a broken floor.
- In spring, clear pollen and grit from the seal and the threshold. Built-up grit grinds the seal every time the door closes.
Replacing a bottom seal is one of the more homeowner-friendly jobs on this list, but if the seal is integrated into the door panel or the track is bent, it’s worth having a technician look. The same inspection applies to weatherstripping around the frame. If you’ve got an older door – a Wayne Dalton or a Craftsman from a prior decade is common in Arlington’s older neighborhoods – replacement seals and weatherstripping are usually available and worth the small cost.
How to Test Balance and Check Spring Tension Safely
This is where the checklist gets serious. A balanced door lifts easily by hand and stays put at the halfway point. An unbalanced door is working harder than it should, and it’s usually a sign the springs are losing tension or a cable is out of adjustment. Testing balance is safe if you follow the steps and know when to stop. Adjusting springs is not a homeowner job, full stop.
Safe balance test
- Close the door and pull the opener’s release cord to disengage the door from the opener. If there’s a lock, disengage it too.
- Lift the door by hand to about waist height. It should move smoothly with one hand and feel light.
- Let go at the halfway point. A balanced door stays there. A door that drops or rises on its own is out of balance.
- Lower the door slowly and re-engage the opener.
Stop points – call a professional if:
- You hear a loud snap, or the door won’t lift at all.
- The door is noticeably heavier than it used to be.
- You see a gap in a torsion spring, or a stretched extension spring.
- Any cable looks frayed, kinked, or slack.
- The door hangs crooked or binds on one side.
Never attempt to wind, unwind, or adjust a torsion or extension spring yourself. The stored energy in a wound spring is enough to cause severe injury if it releases unexpectedly, and the cables attached to it are equally dangerous. Our garage door spring repair technicians handle this as a specialty, not a side job, because it’s the most mechanically dangerous repair on any garage door. If your balance test turns up a problem, that’s the call to make.
Spring repair in Arlington typically runs a range we’re glad to quote on-site, and the price is written and agreed before any work starts. One spring is quoted as one spring; a matched pair, which is usually replaced together, costs about twice that. We’d rather quote it right than surprise you.
Seasonal Timing Guide: March and October
Two calendar points matter most in Arlington. March, before pollen peaks, and October, before the first hard freezes. Do the right tasks at the right time and you avoid the repairs that fill our emergency line later.
March – before pollen peaks
- Clear pollen and grit from tracks, rollers, and hinges. This is the single highest-value task of the season in Arlington.
- Lubricate rollers, hinges, and the torsion bar bearings with a silicone spray.
- Inspect the bottom seal and weatherstripping after the winter freeze-thaw cycles.
- Test the auto-reverse and photo-eye sensors. Pollen and debris can block the sensors.
- Wash the door panels and check for rust spots, especially on steel doors. Touch up paint before warm weather settles in.
October – before hard freezes
- Run the balance test. Cooling temperatures can expose a spring that’s starting to weaken.
- Inspect hinges and fasteners. Wood or metal panels contract as temperatures drop, and screws work loose.
- Check the bottom seal for cracks that will let in cold air once freezing arrives.
- Lubricate again – summer humidity has had months to work on the moving parts.
- Test the safety systems. Cold can stiffen seals and change how the door seats against the floor, which affects the auto-reverse test.
Between those two checkpoints, a light monthly walkaround keeps things in shape. If March or October turns up something you can’t handle, that’s what we’re here for – call (877) 745-1385 and we’ll take a look.
A Monthly Walkaround You Can Do in Ten Minutes
You don’t need to do a full inspection every month. A quick walkaround catches the small problems before they become the ones that fill our emergency line. Here’s how we’d do it if it were our own garage door.
- Listen. Open and close the door from inside the garage. Grinding, squealing, or a rattle that wasn’t there last month is your first warning.
- Watch the door move. It should travel smoothly and evenly. A door that hesitates, jerks, or sags on one side needs attention.
- Check the gap under the door. Light coming through means the seal is worn or something’s misaligned.
- Look at the tracks. Dents, debris, or a track pulling away from the wall are quick to spot and quick to fix.
- Test the photo-eye sensors. Break the beam with your hand; the door should reverse. If it doesn’t, stop using the opener and call.
- Test the auto-reverse. Place a small object in the door’s path and see that it reverses. If it doesn’t, same rule.
- Spot-check the hardware. A quick visual on springs, cables, and the bottom bracket – look only, no touching under tension.
Ten minutes a month, twice a year for lubricant and seals, and you’ve covered the vast majority of what a garage door needs to stay reliable. For a deeper look at what a full diagnostic covers, our Gaines Garage Door Repair team handles repairs, opener service, spring work, and full installations, and we’ll tell you honestly which category your door falls into.
Safety Systems: Photo-Eyes and Auto-Reverse
Your opener’s safety systems are the most important thing on the checklist, and they’re the easiest to neglect. Photo-eye sensors sit at the bottom of the door track and stop the door from closing if something breaks the beam. Auto-reverse is the mechanism that sends the door back up if it meets resistance. Both are required features on any opener made in the last few decades, and both can fail silently.
Test the photo-eyes monthly by breaking the beam with your hand while the door is closing. The door should reverse. If it doesn’t, check that the sensors are aligned, clean, and wired securely. Pollen, spider webs, and even a small dent in the track can throw alignment off. Test auto-reverse by placing a piece of wood or a small object on the floor in the door’s path. The door should reverse on contact. If either test fails, don’t keep cycling the door – get it repaired before it’s the thing that catches a child or a pet.
If you’ve got a newer smart opener (LiftMaster and Chamberlain units are common in Arlington homes, as are Genie and Craftsman), the safety systems work the same way but may be tested through the app or the wall control. Check your manual for the exact procedure. If your opener fails these tests, our opener repair technicians can diagnose the sensors, the logic board, or the travel limits and get it working safely again.
Common Mistakes to Avoid
- Lubricating with grease or WD-40. Grease attracts grit in Arlington’s humid summers and turns into an abrasive paste. WD-40 is a temporary fix, not a maintenance lubricant. Use a silicone-based spray or dry PTFE.
- Skipping the bottom bracket. It’s the most overlooked part on the door and the one that corrodes first in humidity. Check it every season, and don’t adjust it yourself.
- Adjusting or replacing springs yourself. This is the single most dangerous DIY mistake on the list. Springs and cables are under extreme tension. Inspect visually, then call.
- Ignoring a noisy door. Noise is usually the first sign of worn rollers, loose hinges, or a failing opener. Fix it early instead of waiting for a failure.
- Forgetting the seal after winter. Arlington’s freeze-thaw cycles wear out bottom seals faster than a steady-cold climate does. Check it in March, not just fall.
- Blaming the spring when the bracket is the culprit. Many “broken spring” calls turn into a bottom bracket or roller diagnosis once the door is on the bench. Don’t assume; diagnose.
- Skipping the safety test. Photo-eyes and auto-reverse fail quietly. A door that closes on a child or pet is a real hazard, and the test takes ten seconds.
See the difference
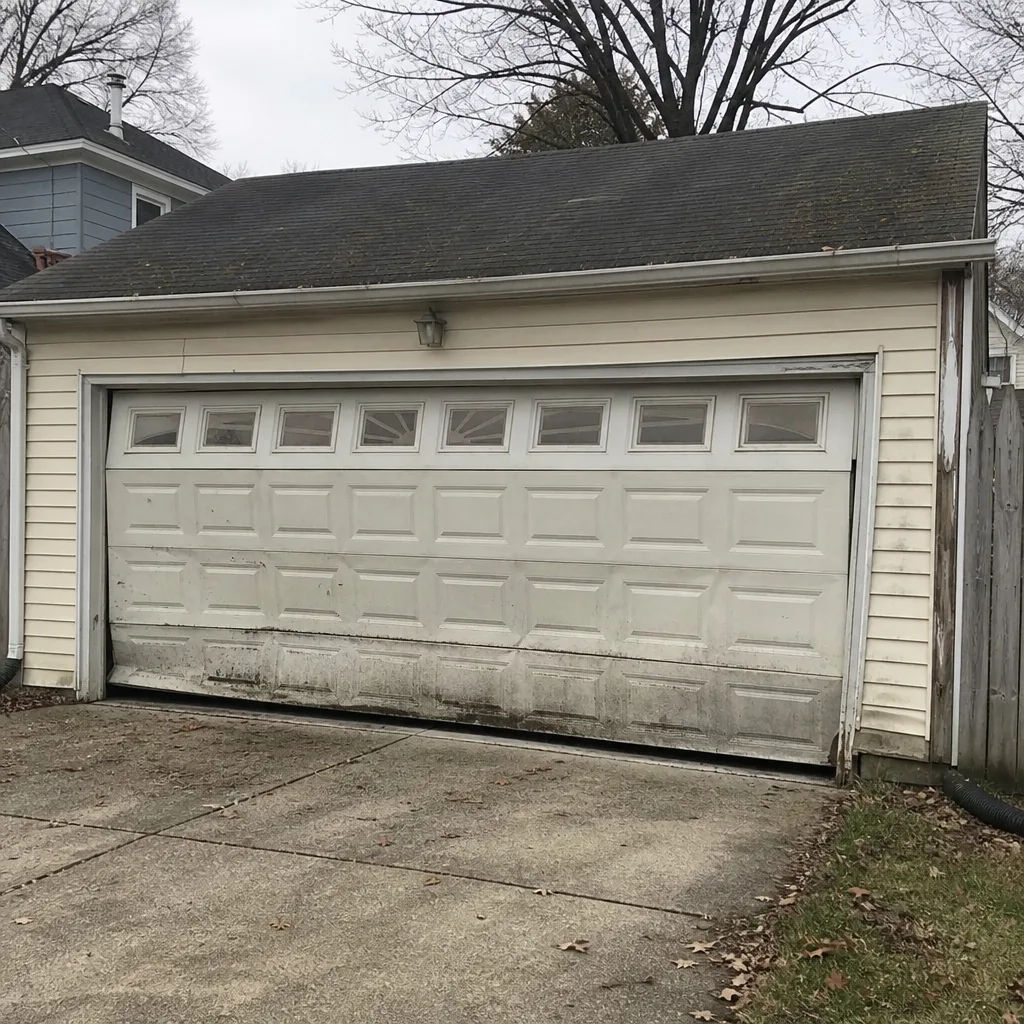 Before
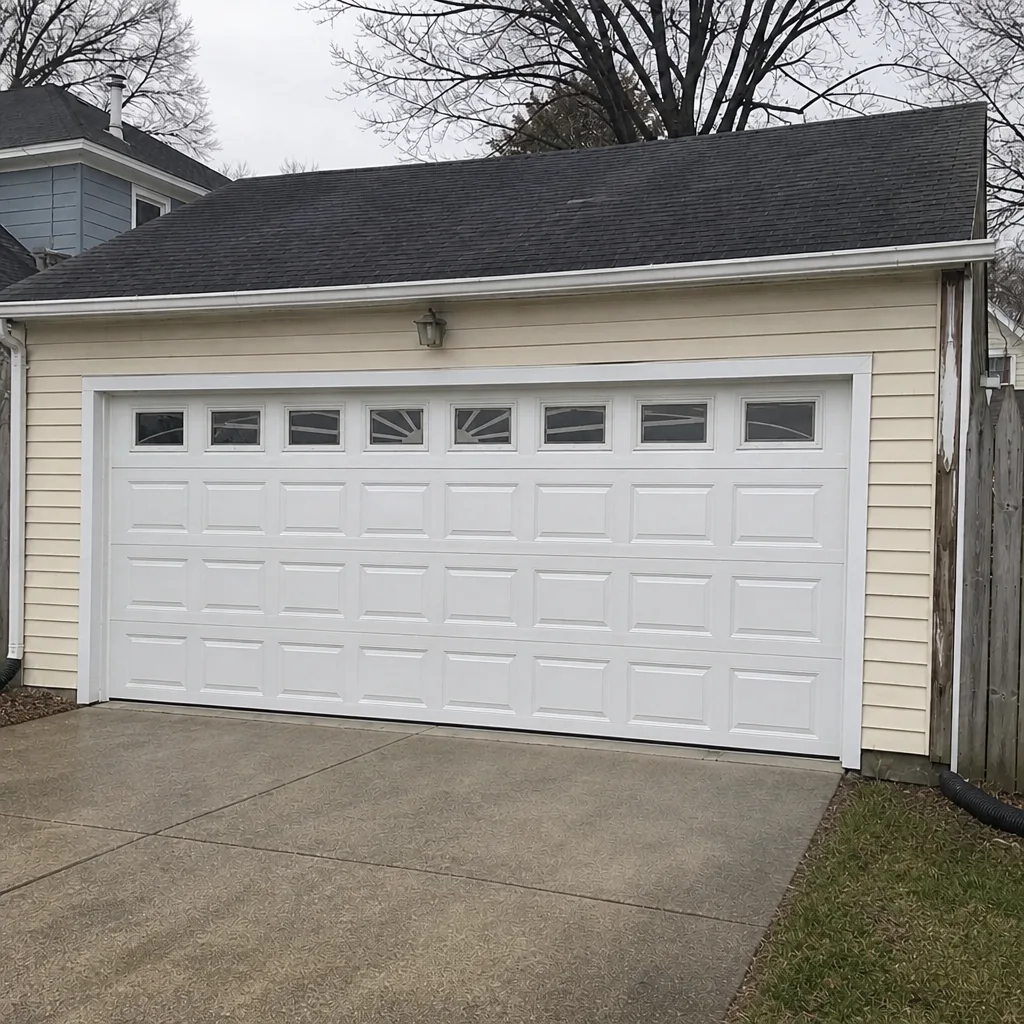 After
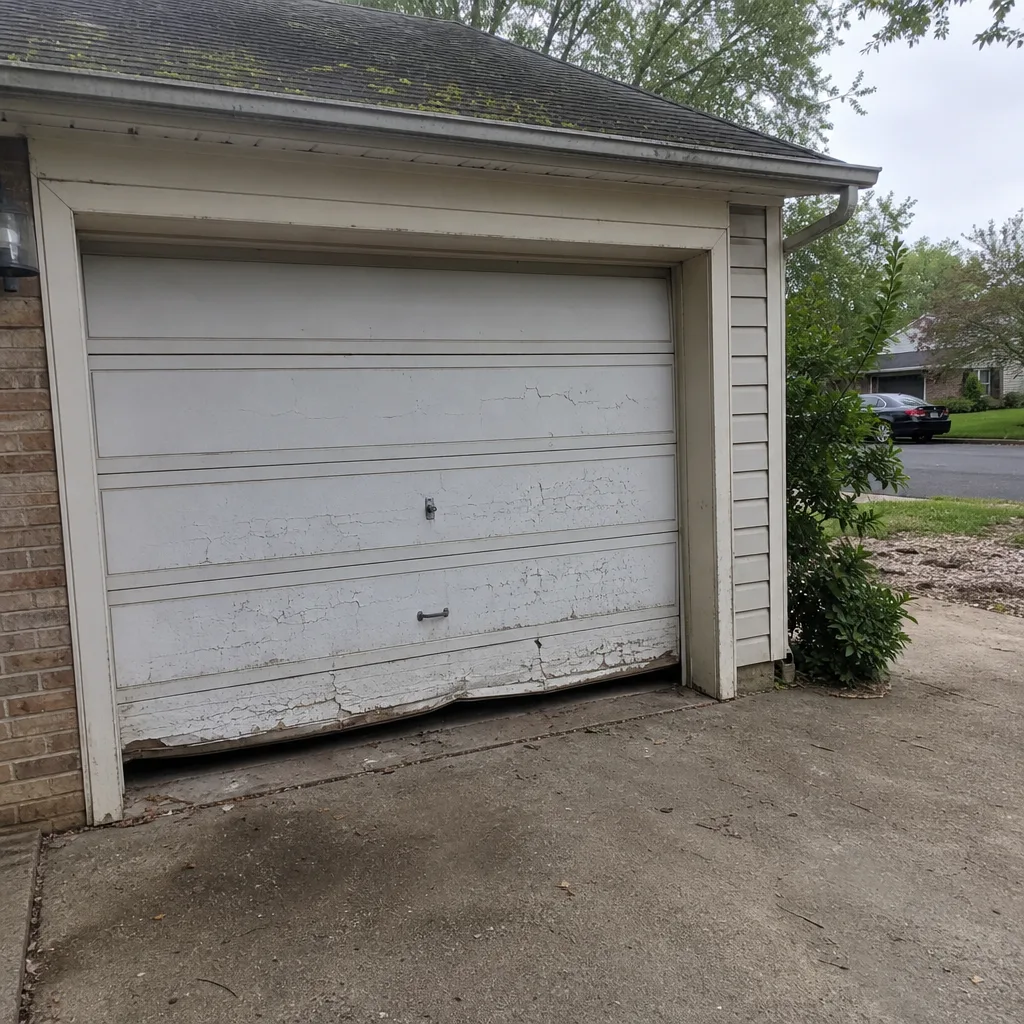 Before
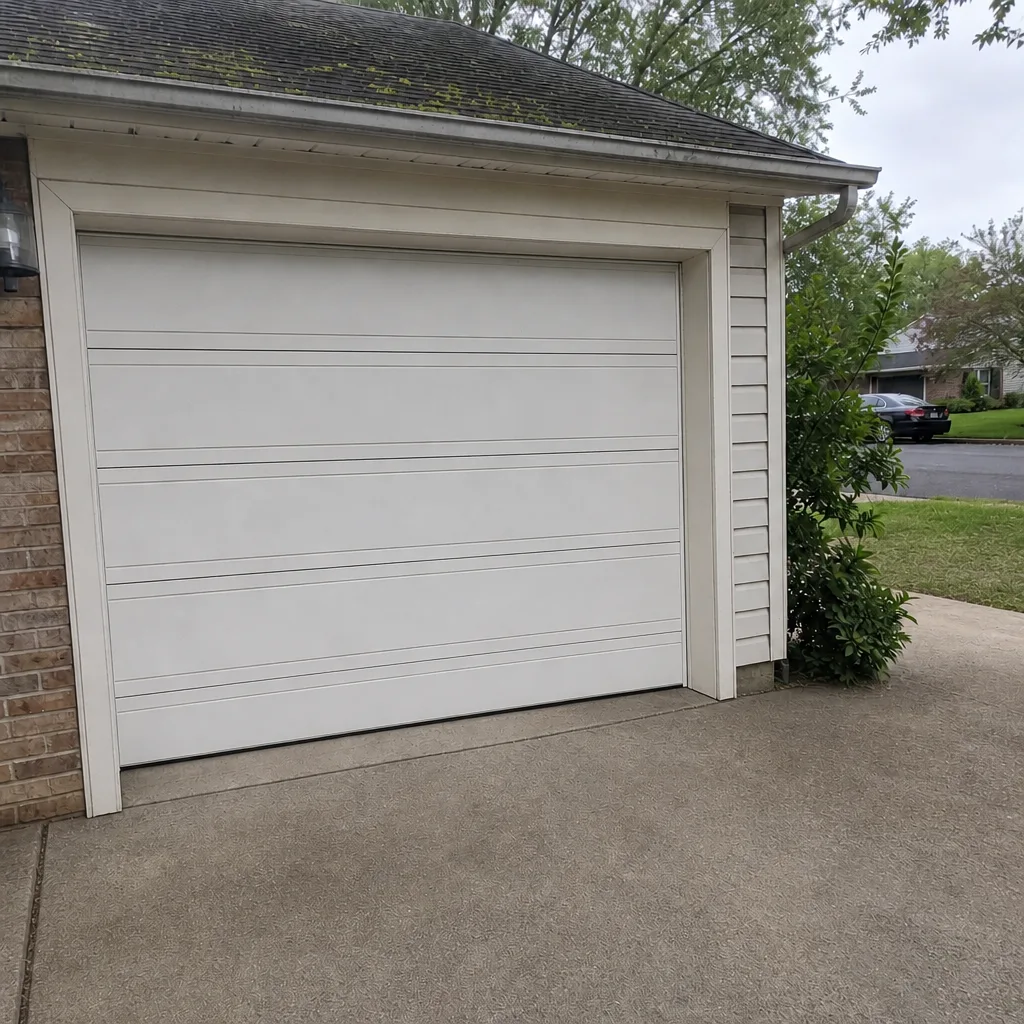 After
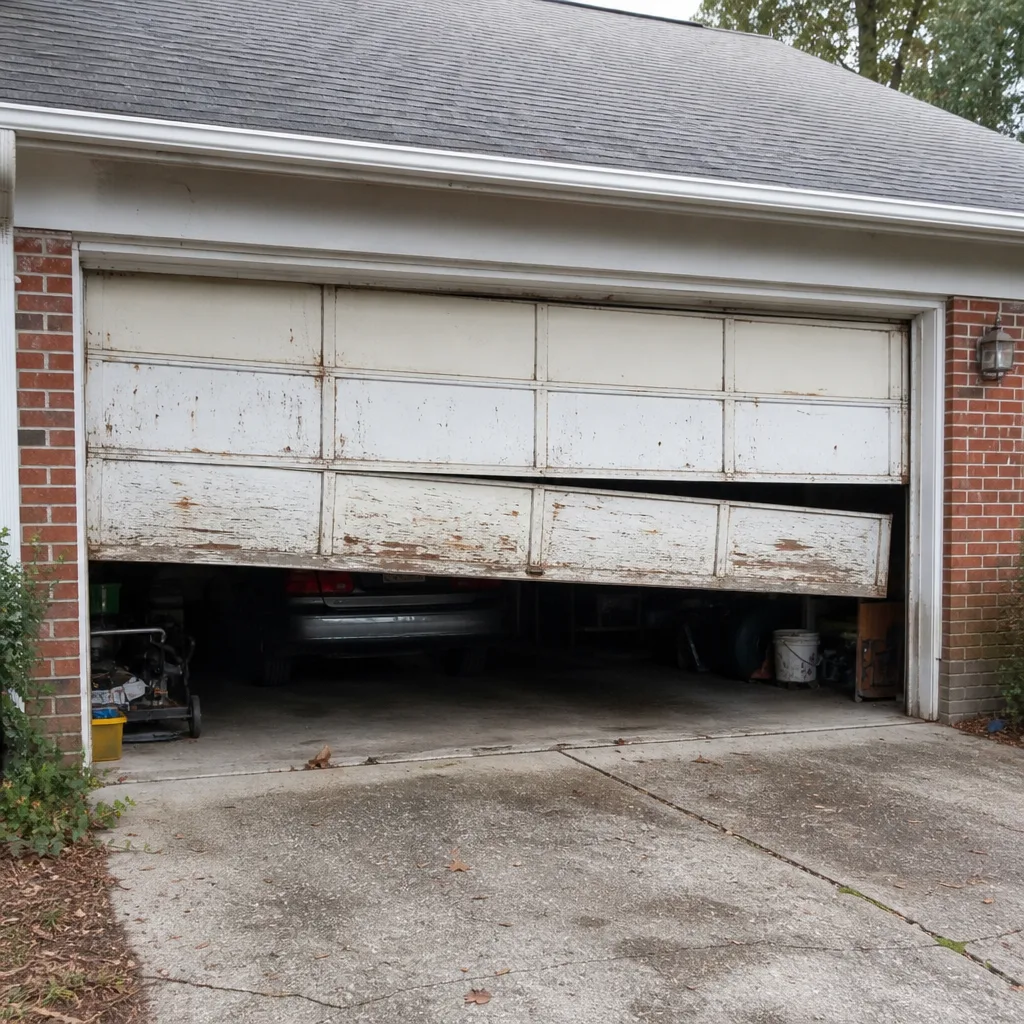 Before
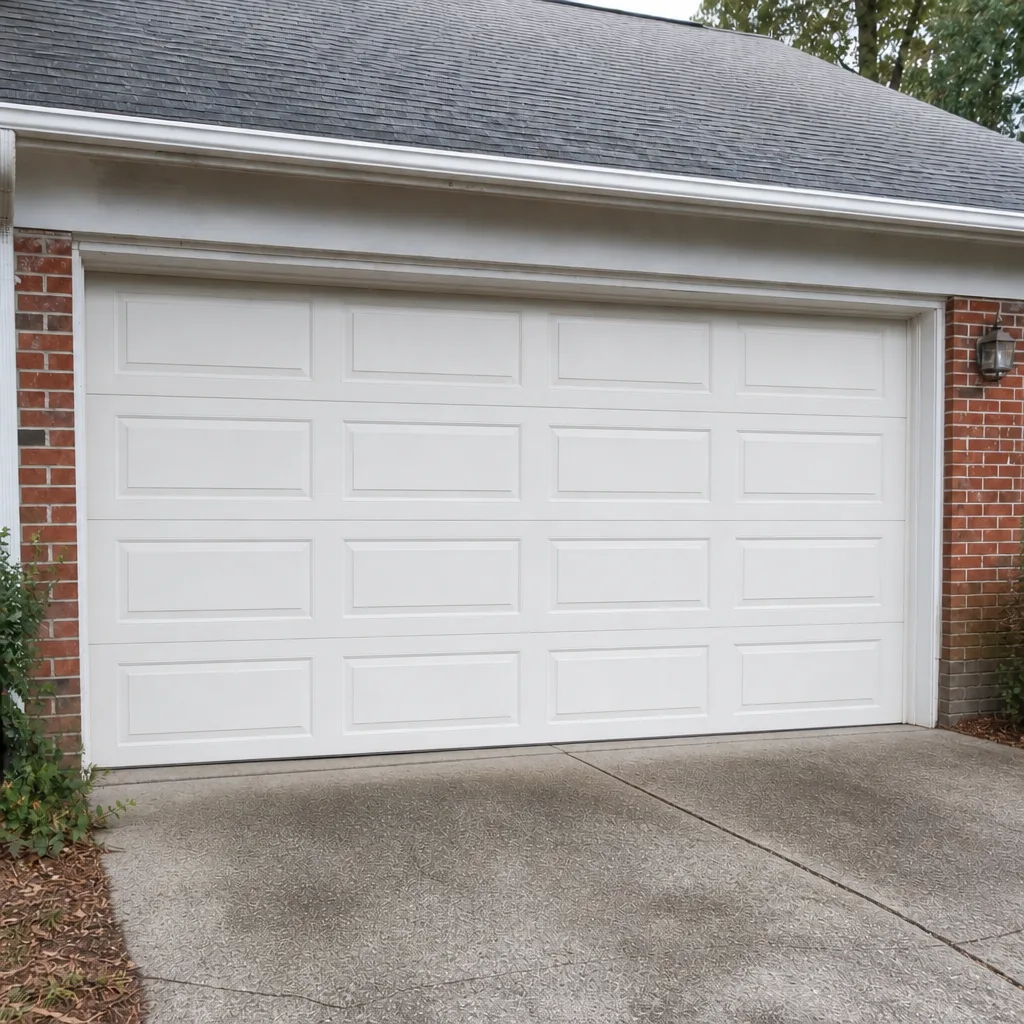 After
When to Call a Professional
Some items on this checklist are homeowner-friendly: lubrication, visual inspection, testing safety systems, and replacing a bottom seal. Others are not, and trying to save a service call by handling them yourself can end in a serious injury. Call a professional when you hear a snap or the door won’t lift, when any spring looks stretched or cracked, when a cable is frayed or slack, when the door hangs crooked, when the balance test fails, when the opener won’t reverse, or when the bottom bracket looks compromised. Springs and cables are under extreme tension, and the release of that energy is not something to test.
Gaines Garage Door Repair offers free estimates in Arlington – call (877) 745-1385. We work on the eight major brands – LiftMaster, Chamberlain, Genie, Clopay, Amarr, Wayne Dalton, Craftsman, and Raynor – so you get service on the door and opener you already own, not a sales pitch for a new one. Our technicians have up to 12 years of experience, and the price is written and agreed before any work starts.
Frequently Asked Questions
Do a ten-minute walkaround monthly, a full lubricant and seal inspection twice a year – March before pollen peaks and October before hard freezes – and a balance and safety test each season. Arlington’s humidity and freeze-thaw cycles put more stress on hardware than a stable-climate region, so the twice-yearly check is a good floor, not a ceiling. Call (877) 745-1385 if anything on the list turns up a problem you can’t handle safely.
In our experience, the most common emergency call isn’t a broken spring – it’s a corroded or failing bottom bracket, often paired with worn rollers. Arlington’s humid summers corrode the lowest hardware first, and the failure can happen without much warning. A seasonal visual check on the bottom corners of the door and the bracket is the best prevention. If yours looks compromised, call (877) 745-1385 for an estimate.
Yes, lubricate rollers, hinges, and torsion bar bearings twice a year with a silicone-based spray or dry PTFE lubricant. Avoid heavy grease, which attracts grit in Arlington’s humid summers and accelerates wear, and avoid WD-40 as a long-term lubricant. Follow your door’s manual for the tracks, since some manufacturers recommend against lubricating them. For a noisy door that persists after lubrication, call (877) 745-1385 for a diagnosis.
Spring repair is quoted per spring, and a matched pair – which is usually replaced together – costs about twice a single spring. The exact price depends on the spring, the door, and what else is worn. We write the estimate and agree it with you before any work starts, so there’s no invoice surprise. Call (877) 745-1385 for a free estimate on spring repair in Arlington.
No. Torsion and extension springs are under extreme tension, and an unexpected release can cause severe injury. Cables attached to springs pose the same risk. Visual inspection is safe; adjusting, winding, or replacing springs is not. This is the one item on the checklist that’s professional-only, and it’s a genuine safety line, not a sales pitch. Call (877) 745-1385 and let a trained technician handle it.
Replace the bottom seal when you see light under the closed door, feel hard or cracked rubber, or notice the seal pulling away from the door’s bottom edge. In Arlington, the freeze-thaw cycle wears seals faster than a steady-cold climate, so check it each March and October. If the seal is integrated into the door panel or the track is bent, have a technician look. Call (877) 745-1385 for an estimate.
The Bottom Line
Start with the parts Arlington’s climate punishes first: the bottom bracket, rollers, and hinges. Lubricate with a silicone-based spray, not grease. Check the bottom seal every March and October. Test balance and safety systems monthly. And when a spring, cable, or bracket is in question, stop the DIY and call. That order matters more than the length of the list. If you’d rather have a trained eye run the checklist once and know exactly where your door stands, our team is happy to help. Call (877) 745-1385 for a free estimate in Arlington and get your door back up and running on a maintenance routine that fits this climate.
Written by the team at Gaines Garage Door Repair.